Tuesday, December 18, 2018

Multiple Panel Project


The concept for this project has existed since at least the beginning of this semester, and I've made several minor pieces exploring certain aspects of it.  The piece would depict the Hell Creek Formation of Late Cretaceous Montana, and certain examples of the flora and fauna within it. 
By arranging, sizing, and painting the panels the way I did, from a certain angle angle and distance a viewer could experience the illusion that they were looking at an actual landscape, being forced to focus their eye on different focal lengths between the far background and foreground one at a time. I feel that I was successful in creating this illusion, and am satisfied with the way it turned out.

the initial drawing of the idea, which was mostly adhered to in the final product

an early 'prototype' of the idea, consisting of three plastic
panels mounted on an index card with painter's tape,
 but functioning as intended and proving to myselfthat the idea should work in its final form
The panels cut to their final size, mounted on the frame in their final arrangement, before being painted.  The panels are made of plexiglass, and the frame is made of wood.
From back to front, the panels consist of:

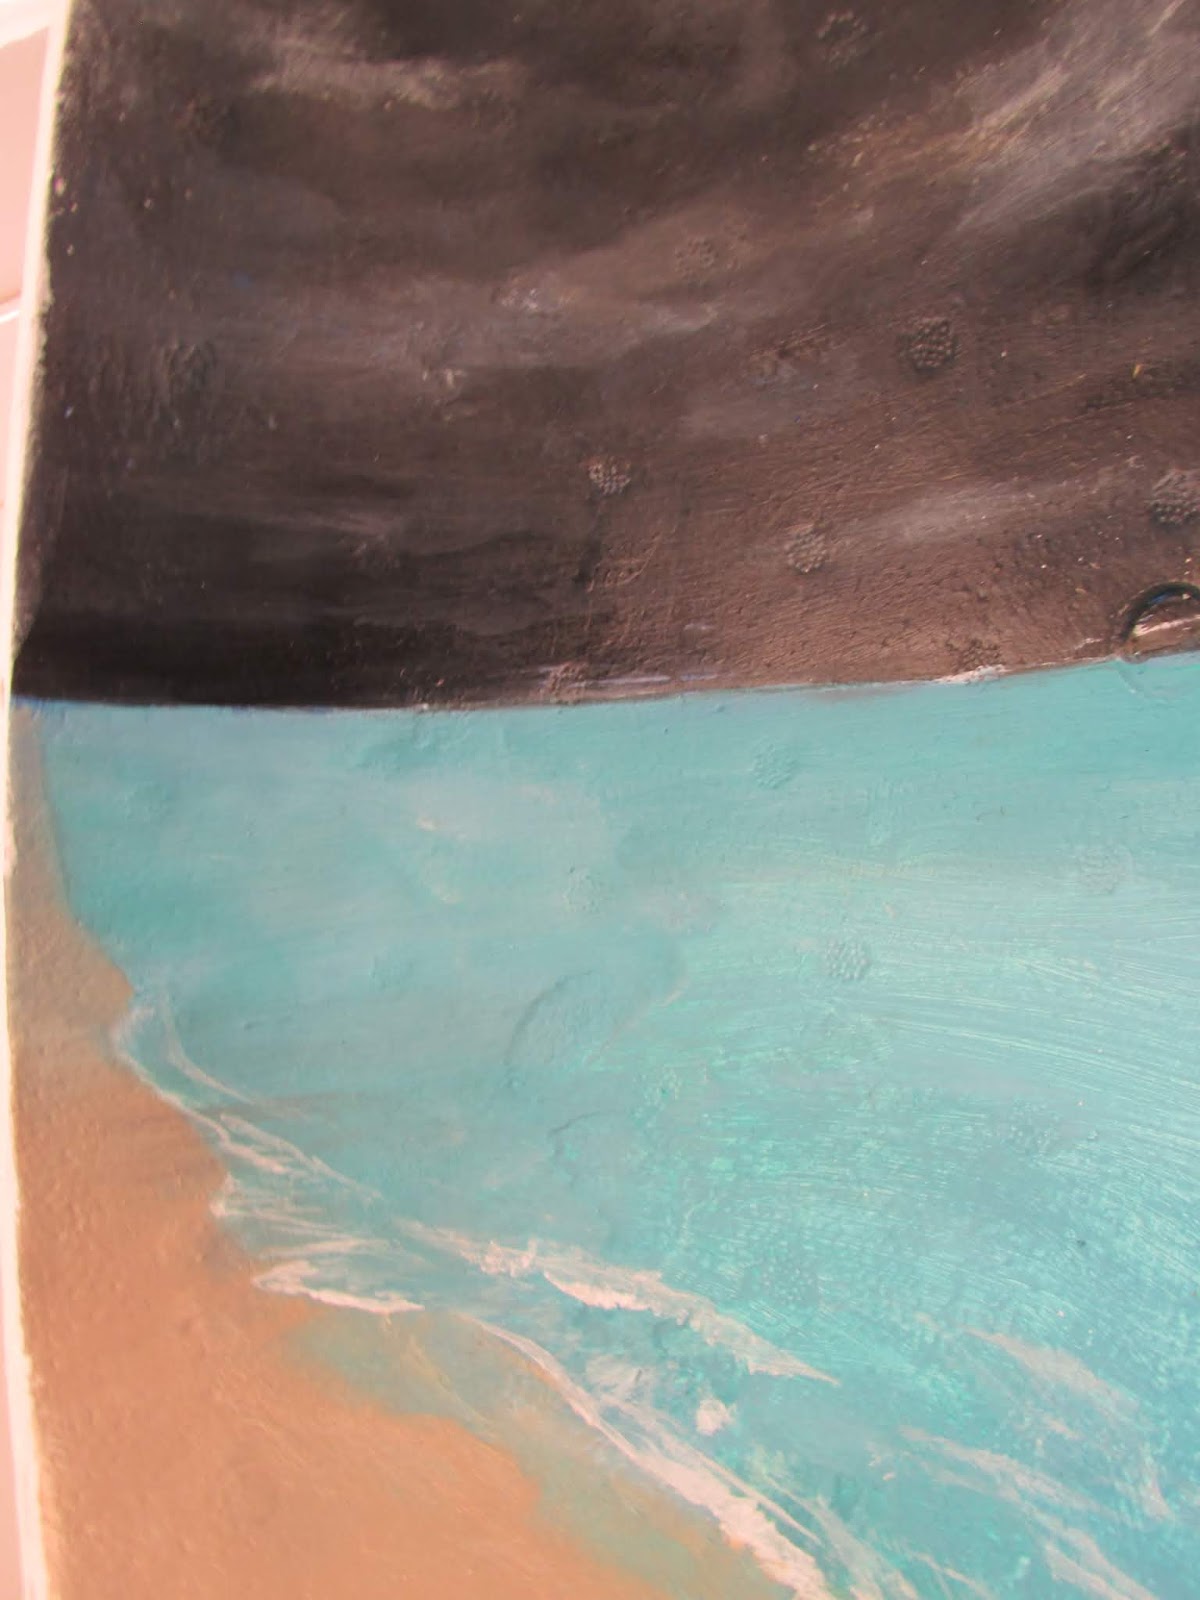
Panel 5: mistakenly features a mountain range that actually wouldn't have existed in that location and time period
Spray paint, gesso, and acrylic paint on plexiglass

Panels 4 and 5:  Panel 4 features clusters of deciduous and ginkgo trees.
Gesso and acrylic paint on plexiglass
Panel 3: features a pair of Quetzalcoatlus near two trees
Gesso and acrylic paint on plexiglass


panel 2: Features a group of Thescelosaurus
Gesso, acrylic paint, and pen on plexiglass
Panel 1:  Features a juvenile Tyrannosaurus near a large tree and small ground plants
Acrylic paint on plexiglass

All panels together, stacked to show size variation and amount of hidden material

All panels together, mounted and photographed from the intended angle and distance


Drawing on Objects

The idea for this project was inspired by the globe panorama paintings I had done in years previous as well as by digital works I was working on at the time.  This time I decided to invert it, creating a concave hemisphere that would depict one half of an equirectangular panorama. 
Initially I wanted to create another prehistoric scene, but with time constraints and uncertainty as to what I wanted to represent, it ended up being an empty seascape.
The intended effect of this mode of drawing was how immersive it would be, that by holding it close enough to your face and turning it, one could simulate looking around in a landscape from a fixed position within it.  Being a hemisphere, the panorama contains the zenith of the sky, the nadir of the ground, and 180 degrees of horizon.  I believe that in order to be truly immersive, it would have to be painted on a somewhat larger scale, and feature certain landmarks that could inform distance and direction.

Gesso and acrylic paint on 10" Styrofoam dome


Transformation Drawing

While the standard surface for the Transformation Drawing project is paper or some other flat material, I chose to transform a Styrofoam human head, taking advantage of its three-dimensionality and the properties of the Styrofoam to make dramatic changes to its form.

Transformation one: superficial coloring
  for this stage I used ink and orange Gojo grit soap to stain the surface of the Styrofoam, applying it by drip, by hand, and by paper towel.

Transformation two: additional superficial coloring, removing and relocating Styrofoam, internal coloring
For the second stage I completely covered the previous stage with black ink and gesso, mostly pouring and syringe-dripping it.  The ink would occasionally flow into the gesso and create small branching patterns similar to river systems or blood vessels
Early progress on Stage two, before taking off a slice of the face with a saw
 Later progress on Stage two was unfortunately not documented, but it can be described. I used a saw to make a cut down the midline of the face and another down the left side, both running from the forehead to beneath the chin and meeting in the middle so that it could be removed. The exposed interior was then spray-painted teal and the wedge was pinned upside down to upper right part of the forehead. 


Transformation three: spray fixative treatment and added color
My next transformation was to saw off the top of the head and to use different spray paints, gesso, and finally spray fixative to corrode the Styrofoam. It ate away at the material all the way down to the base of the neck inside the head and cut streams down the outside of it, resulting in features that resembled geographic or microbiological structures.  I also applied a thin layer of yellow paint to the outside of the head, and gave the fixative treatment to the face wedge, which I then pinned to a slice of the head I removed in the first step of this Transformation.


 Transformation 4: slicing and displaying
The final stage of this transformation brought it to a somewhat 2-dimensional mode, the head being sliced into five parts about an inch or two in thickness.  They can be placed in any arrangement, and still stack into their previous form.

Thursday, October 11, 2018

Concept for Drawing on Objects project

The object that will be the base of this project is a globe, perhaps one foot in diameter, mounted on a stand.  My mark on it will be the application of an Equirectangular panorama, that is, a panorama which takes in all angles of a scene, along the horizon as well as directly up and directly down.

Below are shown two examples, one inside a cathedral and another outside overlooking a body of water.
 In my application, the equator of the globe would be the horizon line, the north pole would be the zenith of the sky, and the south pole would be nadir of the ground.

Grid for an Equirectangular panorama.  

PanoramaSphere, from a page on Google Maps Platform about the Street View Service


This is something I've done before, in my painting class, wherein I painted two globes this way.  One depicted a setting from the Wahweap formation (Utah and Arizona, Late Cretaceous) and the other depicted one from the Harudi formation (Gujarat, India, Middle Eocene)


Harudi Formation


Wahweap Formation
For this project, however, I'm not sure what setting I want to depict, except that it should be prehistoric. Where the scenes I painted before had a vantage point high above the ground, for this one I'd like to set it in a more human-height perspective

Concept for Multi-Panel project


My intentions for this project are to utilize several panels of Plexiglass or some similar transparent and rigid material, and to paint progressively farther layers of an environment on them.  The hindmost would depict the sky and horizon, for example, then some forested hills at the feet of the mountains on the horizon, then closer and closer until the last panel features an object or creature several inches away from the viewer.  These panels would also be sized on a gradient, nearest-smallest to farthest-largest.  This is to ensure that when the piece is viewed as intended (from very close and looking directly at the smallest panel), foreshortening makes all the panels appear to be the same size.

Depicted on these panels would be a prehistoric setting, some time during the Cretaceous. I want some sort of Azhdarchid pterosaurs to appear in the near distance, and maybe a small mammal in the foreground.  There would also be a group of medium sized dinosaurs.

Another visual effect of this structure will be focus.  Seen from the correct angle, you can only focus on one panel at a time, whether by eye or by camera (at least the one I work with), further contributing to the illusion of depth and distance.  

Savannah Paper Project by Nick Meeuws
from Armory Show by Xia Xiaowan

Layered Landscape 2 by Nobuhiro Nakanishi
My own drawings of the basic idea