Tuesday, December 18, 2018

Transformation Drawing

While the standard surface for the Transformation Drawing project is paper or some other flat material, I chose to transform a Styrofoam human head, taking advantage of its three-dimensionality and the properties of the Styrofoam to make dramatic changes to its form.

Transformation one: superficial coloring
  for this stage I used ink and orange Gojo grit soap to stain the surface of the Styrofoam, applying it by drip, by hand, and by paper towel.

Transformation two: additional superficial coloring, removing and relocating Styrofoam, internal coloring
For the second stage I completely covered the previous stage with black ink and gesso, mostly pouring and syringe-dripping it.  The ink would occasionally flow into the gesso and create small branching patterns similar to river systems or blood vessels
Early progress on Stage two, before taking off a slice of the face with a saw
 Later progress on Stage two was unfortunately not documented, but it can be described. I used a saw to make a cut down the midline of the face and another down the left side, both running from the forehead to beneath the chin and meeting in the middle so that it could be removed. The exposed interior was then spray-painted teal and the wedge was pinned upside down to upper right part of the forehead. 


Transformation three: spray fixative treatment and added color
My next transformation was to saw off the top of the head and to use different spray paints, gesso, and finally spray fixative to corrode the Styrofoam. It ate away at the material all the way down to the base of the neck inside the head and cut streams down the outside of it, resulting in features that resembled geographic or microbiological structures.  I also applied a thin layer of yellow paint to the outside of the head, and gave the fixative treatment to the face wedge, which I then pinned to a slice of the head I removed in the first step of this Transformation.


 Transformation 4: slicing and displaying
The final stage of this transformation brought it to a somewhat 2-dimensional mode, the head being sliced into five parts about an inch or two in thickness.  They can be placed in any arrangement, and still stack into their previous form.

Thursday, October 11, 2018

Concept for Drawing on Objects project

The object that will be the base of this project is a globe, perhaps one foot in diameter, mounted on a stand.  My mark on it will be the application of an Equirectangular panorama, that is, a panorama which takes in all angles of a scene, along the horizon as well as directly up and directly down.

Below are shown two examples, one inside a cathedral and another outside overlooking a body of water.
 In my application, the equator of the globe would be the horizon line, the north pole would be the zenith of the sky, and the south pole would be nadir of the ground.

Grid for an Equirectangular panorama.  

PanoramaSphere, from a page on Google Maps Platform about the Street View Service


This is something I've done before, in my painting class, wherein I painted two globes this way.  One depicted a setting from the Wahweap formation (Utah and Arizona, Late Cretaceous) and the other depicted one from the Harudi formation (Gujarat, India, Middle Eocene)


Harudi Formation


Wahweap Formation
For this project, however, I'm not sure what setting I want to depict, except that it should be prehistoric. Where the scenes I painted before had a vantage point high above the ground, for this one I'd like to set it in a more human-height perspective

Concept for Multi-Panel project


My intentions for this project are to utilize several panels of Plexiglass or some similar transparent and rigid material, and to paint progressively farther layers of an environment on them.  The hindmost would depict the sky and horizon, for example, then some forested hills at the feet of the mountains on the horizon, then closer and closer until the last panel features an object or creature several inches away from the viewer.  These panels would also be sized on a gradient, nearest-smallest to farthest-largest.  This is to ensure that when the piece is viewed as intended (from very close and looking directly at the smallest panel), foreshortening makes all the panels appear to be the same size.

Depicted on these panels would be a prehistoric setting, some time during the Cretaceous. I want some sort of Azhdarchid pterosaurs to appear in the near distance, and maybe a small mammal in the foreground.  There would also be a group of medium sized dinosaurs.

Another visual effect of this structure will be focus.  Seen from the correct angle, you can only focus on one panel at a time, whether by eye or by camera (at least the one I work with), further contributing to the illusion of depth and distance.  

Savannah Paper Project by Nick Meeuws
from Armory Show by Xia Xiaowan

Layered Landscape 2 by Nobuhiro Nakanishi
My own drawings of the basic idea


Tuesday, October 9, 2018

Contemporary Drawing Practices
Process:
Plexiglass held in a curve with blue painter's tape.
1.5 inch clay skull placed in center.
Pieces of clear tape applied to curved plexiglass
Curved plexiglass painted over with Gesso, with five holes sized and positioned to line up with the skull from certain distances and angles, as well as over the clear tape.
Heads painted in Oils within those five holes, as a reconstruction of the skull.
Clear tape pieces peeled and reapplied directly above original positions, along with the parts of the face that were painted on top of them.

   
Right Profile, right oblique, and front-and-center, photographed as intended

    
Left Oblique, left profile, photographed as intended, and view of all the faces from behind the piece, the reapplied tape pieces faintly visible on the other side of the plexiglass.


Skull in anterior view and profile view


Friday, October 5, 2018

Ephemeral Mark on the Landscape


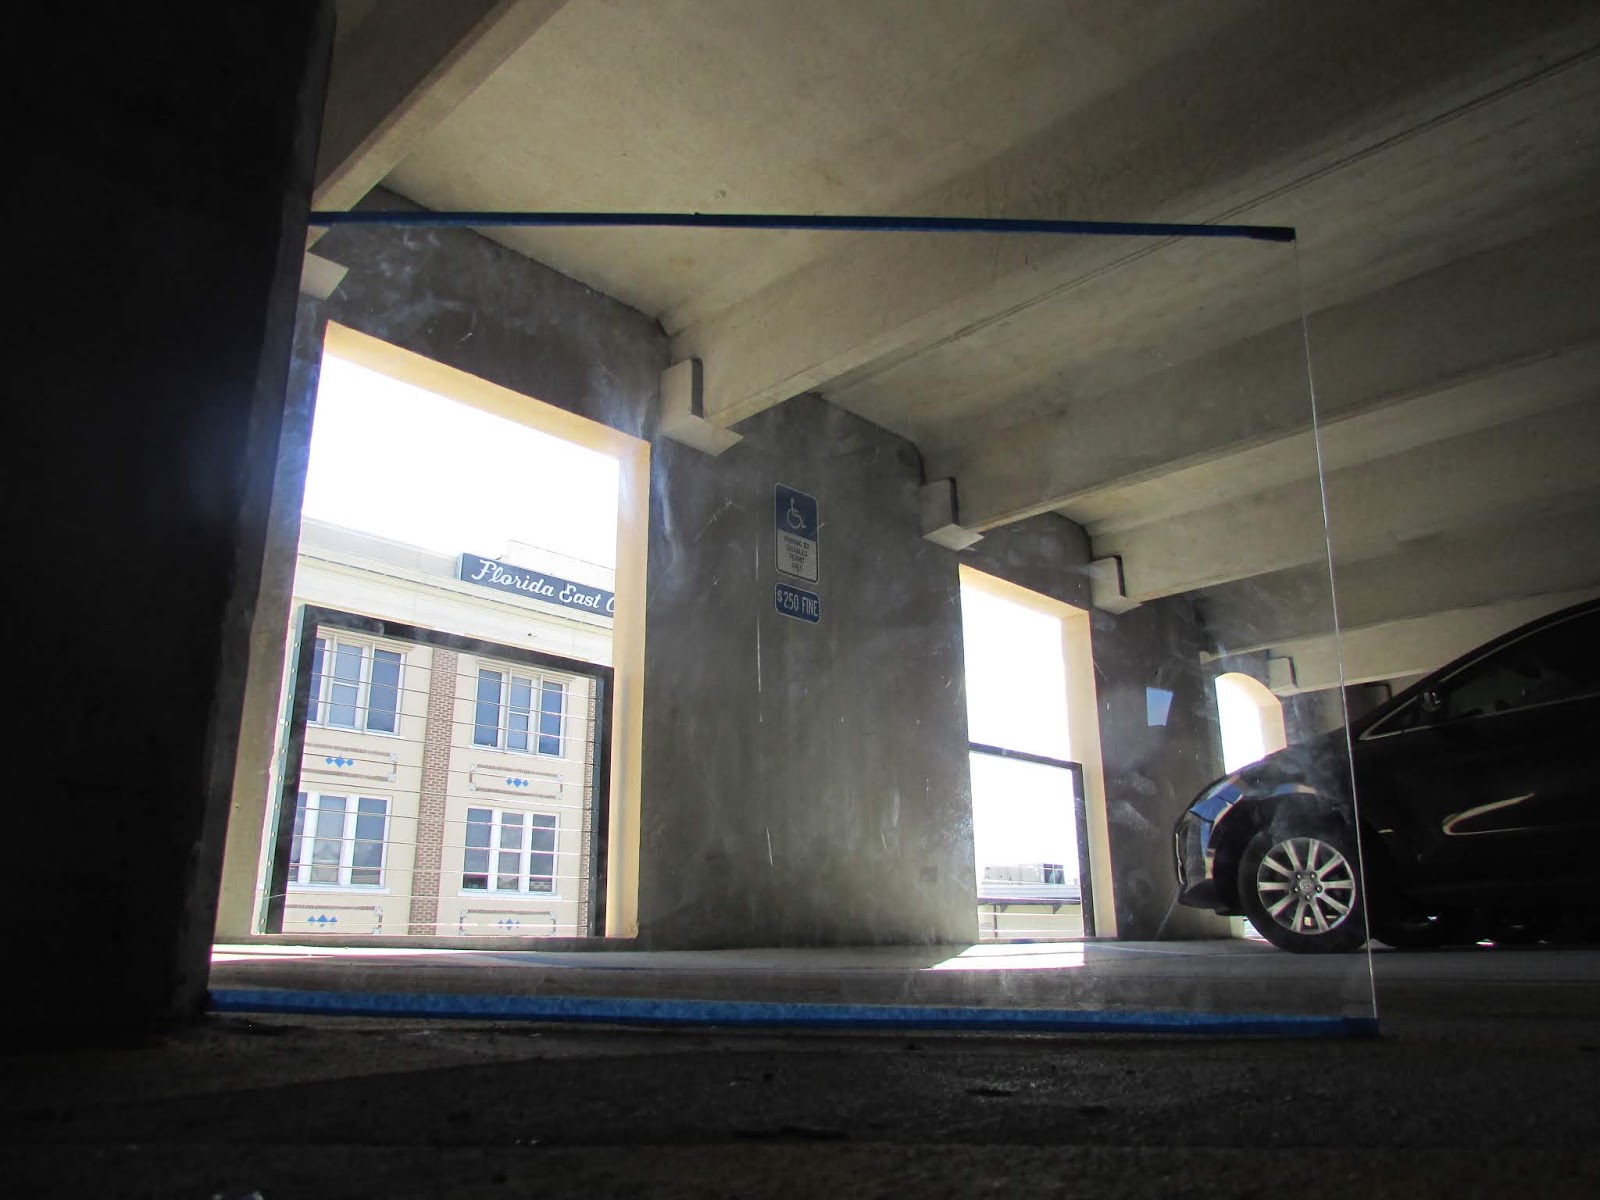
In the process of creating this artwork I considered and worked towards several different locations before settling on the one I would eventually develop.  Ideally, the location would feature an archway or opening of some sort, and the mark I intended to make would be to set a piece of Plexiglass some distance from that opening, and to paint on it in the shape of the negative space.  From a specific vantage point, my painting would appear to depict a setting on the other side of that entrance, in a sort of augmented reality.  

This is a mark on the landscape which aims to create the illusion of a different landscape (or underwaterscape) which existed during the Late Eocene, 40 to 35 million years ago, when the sea level was higher and Florida itself was lower, and the first fully marine cetaceans made their way across hemispheres from southwest Asia to North America.  I wanted to give the impression that the windows were an anomalous gateway into this period of time, superimposed onto our own current reality.
one of the many archways near the outer gate of Ponce Hall.  I intended to mount the plexiglass on the edge of the brick column in the left foreground.

The gateway to the Castillo De San Marco fort, from the inside looking out
the breezeway, looking out.  I wanted to paint the creature so that it appeared to be swimming through the entrance, its tail still outside and lit accordingly.


the windows near the elevator on the fourth floor of the parking garage.  This was the setting I decided to paint from and for.
the piece, with the finished painting, set up for photographing 

the larger panel showcasing the Basilosaurus, no background, ideal lighting.

one of many failed attempts to replicate the angle I painted towards
In an extremely fortuitous turn of events, the windows looking out from the third floor of Abare fit the painting almost perfectly, which was really nice after how badly the garage attempts turned out


Wednesday, September 26, 2018


My idea for this Spatial Tape Drawing was a sort of descending set of half-rings forming a caged space behind it against the corner of the wall.  This structure resembles several things at once, such as a simplified human rib cage, a set of not-so-ergonomic shelves, sound waves, or supporting hoops in the skirt portion of an overcomplicated dress. Each ring was created by taking a piece of tape and folding/winding it over itself, at such an angle that they formed slight curves, with moderate stiffness compared to an unaltered piece of tape. This folding also creates an alternating triangle pattern in the rings.   There are seven rings in total, the first being the smallest and curving into the wall rather than out from it, and the rest being all curving outward, successively larger and more or less equally spaced.  Ideally, the tape rings would have been totally stiff and ledge-like, but instead they sag a little and lose something of their curve, some worse than others.